|
ATNF Pulsar Catalogue Tutorial Pages: Introduction 1: The simplest query 2: Using the standard parameter set 3: Defining your own display parameters 4: Sorting 5: Conditional logic statements 6: Filtering on pulsar names 7: Finding pulsars within a circular region 8: Formatting the output 9: Obtaining the plotted output 10: Playing with the applet |
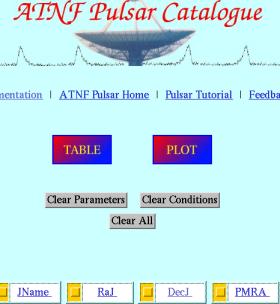
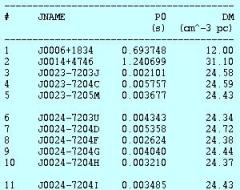
Display Parameters Page 1: The Simplest Query Before delving into how to use the Display Parameters input section and just to help build up a little bit of confidence as all good tutorials should do, I'll introduce to you the simplest query that you can possibly place in this web interface. On the main form, just click on the Table button at the top of the page which looks like the image on the left. The output will look like the image on the right. The output is, of course, just a small sample of the entire output (which contains hundreds of lines).
For example, if you don't give any Display Parameters (as we just did), the catalogue will just use "JName" (the name of the pulsar), "P0" (the pulsar period) and "DM" (the dispersion measure) as the default Display Parameters. Just to drift off on a slight tangent you will also notice from the screen shot on the left, and, which you will notice on the main page of the ATNF Pulsar Catalogue, that there are a number of hyperlinks (the blue or purple underlined words). Many of these hyperlinks go to various help files to help explain, in detail, what each of these words refer to. They are extremely useful and it might be worth clicking on a few of these during the course of this tutorial. Now that we've got your false confidence up, we'll throw you into the deep end and do some hard stuff...clicking on checkbox buttons! Click on the "Back" button of the browser to go back to the main form; ready for the next lesson. next page >> |